Table of Contents
Hey there, DIY enthusiasts and home improvement aficionados! Are you gearing up for a bathroom renovation project? Perhaps you’ve decided it’s finally time to upgrade that old, worn-out shower? Well, you’re in luck because today, we’re diving headfirst into the wonderful world of installing a new shower. But hold on tight, because we’re not just talking about any old installation job – we’re talking about doing it like a pro.

Why DIY?
Before we get our hands dirty, let’s address the elephant in the room – why DIY? Sure, you could hire a professional to do the job, but where’s the fun in that? Plus, tackling a project like this yourself can be incredibly rewarding. Not to mention, it’ll save you a pretty penny in labor costs.
Preparation is Key
Alright, first things first – preparation. You wouldn’t embark on a road trip without a map, right? Well, the same principle applies here. Before you even think about picking up a wrench, take some time to plan out your project. Measure twice, cut once – as they say.
Start by assessing your space. Where do you want your new shower to go? Will it be a standalone unit or part of a larger enclosure? Take accurate measurements and double-check your plumbing and electrical systems. Trust me; you don’t want any surprises popping up mid-project.
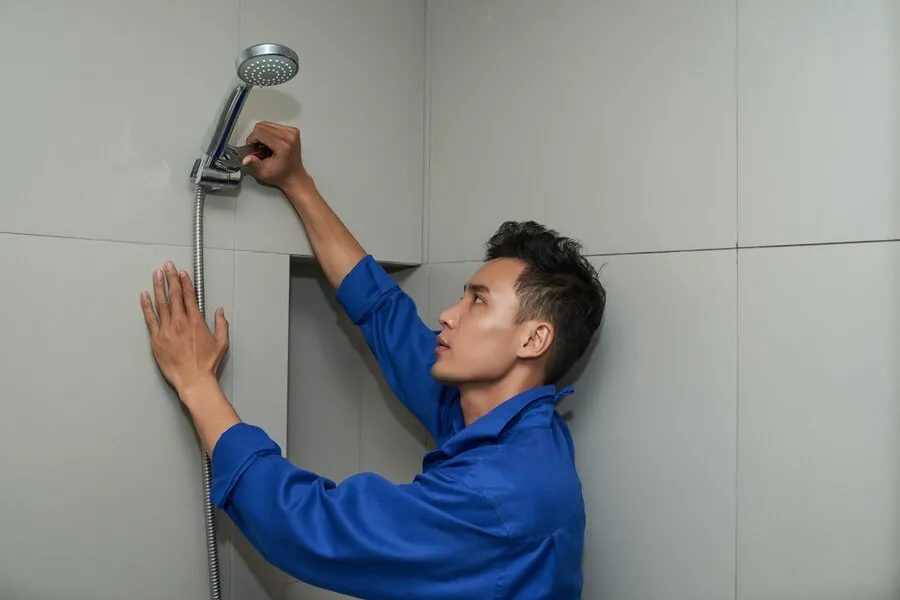
Choose Wisely: Selecting the Right Shower
Now comes the fun part – picking out your new shower. With so many options on the market, it can feel a bit overwhelming. But fear not! Take your time to research different styles, sizes, and features. Are you a fan of sleek, modern designs, or do you prefer something more traditional? Do you need extra accessibility features like grab bars or built-in seating?
Once you’ve narrowed down your choices, consider your budget. While it’s tempting to splurge on fancy bells and whistles, remember to stick to what you can afford. After all, a shower is just one piece of the puzzle when it comes to bathroom renovations.
Gather Your Tools
With your plan in place and your shower selected, it’s time to gather your tools. Here’s a handy checklist to get you started:
- Adjustable wrench
- Screwdriver set
- Pipe cutter
- Level
- Silicone caulk
- Teflon tape
- Drill
- Tile saw (if you’re tiling)
Having the right tools for the job will make the installation process much smoother. Plus, there’s nothing quite like the satisfaction of using your own tools to tackle a project.
Demolition Day
Alright, folks – it’s demo time. Before you can install your shiny new shower, you’ll need to remove the old one. Start by shutting off the water supply and disconnecting any plumbing fixtures. Then, carefully remove the existing shower unit or enclosure, taking care not to damage the surrounding walls or flooring.
Depending on the extent of your renovation, you may also need to remove tiles or drywall. This can be a messy job, so be sure to wear appropriate safety gear, including goggles and gloves.
Mind the Details: Plumbing and Electrical Work
Now that you’ve cleared the space, it’s time to tackle the plumbing and electrical work. If you’re simply replacing an existing shower, this step should be relatively straightforward. However, if you’re installing a brand-new unit or moving fixtures around, you may need to call in the professionals.
When it comes to plumbing, be sure to follow local building codes and regulations. Properly secure pipes and fittings, and don’t forget to use Teflon tape to prevent leaks. If you’re installing a new shower head or faucets, now’s the time to do so.
As for electrical work, if you’re adding features like lighting or a steam unit, it’s best to leave this to the pros. Working with electricity can be dangerous, so don’t take any chances.
Get Your Tile On
With the plumbing and electrical work out of the way, it’s time to turn your attention to the walls. If you’re installing a tiled shower, now’s the time to break out the tile saw and get to work. Start by applying a layer of thin-set mortar to the walls, then carefully place your tiles in place, using spacers to ensure even spacing.
Once the tiles are in place, allow them to set overnight before grouting. Be sure to use a waterproof grout to prevent moisture damage. And don’t forget to seal the grout once it’s dry – trust me; it’ll save you a headache down the road.
Seal the Deal: Caulking and Finishing Touches
Congratulations – you’re almost there! With the walls tiled and grouted, it’s time to add the finishing touches. Start by applying silicone caulk around the edges of the shower pan and along any seams or corners. This will help create a watertight seal and prevent leaks.
Once the caulk has dried, take a step back and admire your handiwork. You’ve officially installed a new shower – all by yourself! But before you break out the champagne, be sure to give everything a thorough once-over. Check for any leaks or loose fittings, and make any necessary adjustments.
Clean Up and Enjoy
With the installation complete, all that’s left to do is clean up your workspace and enjoy your new shower. Invite friends and family over to admire your handiwork, and bask in the satisfaction of a job well done. After all, there’s nothing quite like the feeling of accomplishment that comes from tackling a DIY project.
So there you have it – expert tips for installing a new shower like a pro. With a little planning, the right tools, and a can-do attitude, you can transform your bathroom into a spa-like oasis in no time. Happy renovating!

Liam Stephens is a dynamic and skilled blogger, recognized for his ability to identify trends and create compelling content. As the founder of Remi-Portrait.com, Liam has become a reliable source of information across various fields such as food, technology, health, travel, business, lifestyle, and current events. He specializes in delivering up-to-date technology news and insights, catering to the diverse community that surrounds Remi-Portrait.com. His proficiency and engaging writing style have earned him a dedicated audience, solidifying his reputation in the digital sphere.