Table of Contents
In smoke detector Repair, Smoke detectors provide vital fire protection, but they can malfunction over time. Here’s a guide to inspecting, troubleshooting, and repairing common smoke detector issues.
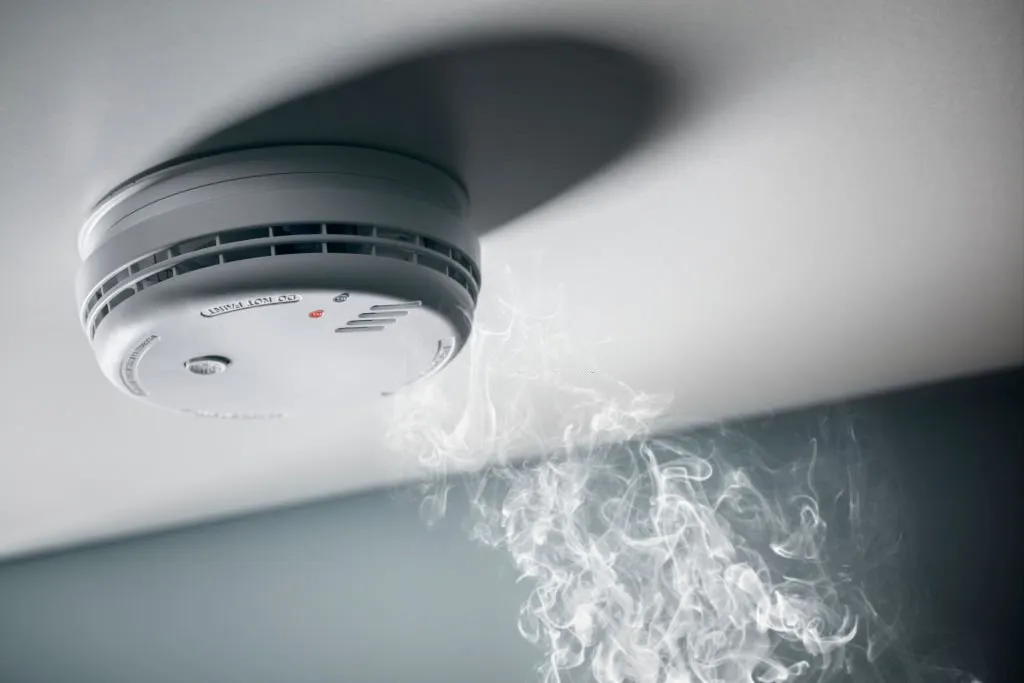
Smoke detectors are one of the most crucial safety devices in any home. These unassuming little white disks on your ceiling are constantly on alert, ready to detect smoke and sound an alarm in the event of a fire. However, like any device, smoke detectors can malfunction over time. Knowing the signs of a faulty detector and how to do basic smoke detector repair yourself can ensure your home’s fire protection system is always in working order.
What is a Smoke Detector and Why is it Important?
A smoke detector, also called a smoke alarm, is a sensor designed to detect smoke and particles generated by fire. It will trigger a loud alarm to alert occupants in the building of the potential fire and danger. Having working smoke detectors dramatically improves survival rates during building fires. Statistics show that less than 5% of house fires result in death when the home has functioning smoke alarms.
Smoke detectors should be installed on every level of a home and inside every bedroom for maximum fire protection. Most operate using battery power, while some can be hardwired into the home’s electrical system. Either way, they need to be properly maintained and repaired when issues arise.
Signs Your Smoke Detector Needs Repair
Many smoke detector problems have clear symptoms that homeowners can watch for. Here are some signs your unit may need smoke detector repair:
- Frequent false alarms or beeping for no apparent reason
- Chirping alarm sound when no smoke is present
- No alarm when you press the test button
- Intermittent alarm operation
- Speaker holes are blocked with dust and debris
- Cracked or damaged casing
- Older than 10 years or expiration date passed
Paying attention to these warning signs and investigating further can reveal if your smoke detector needs a fix.
Checking for Issues
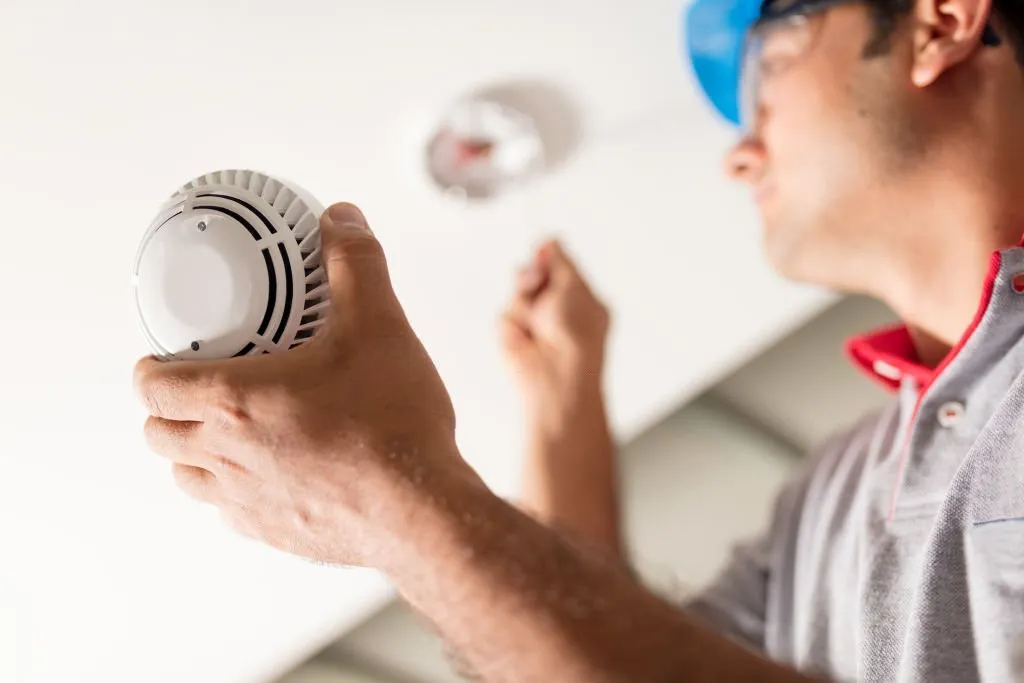
The first steps in any smoke detector repair are to thoroughly inspect the unit and identify any problems. Here is how homeowners can diagnose common detector issues:
Visual Inspection
- Remove the smoke detector from the mounting bracket to access it easily
- Check for any visible damage to the casing, vents, and speaker holes
- Look for burn or smoke marks that indicate exposure to high heat
- Examine age/date labels to see if the unit is over 10 years old
Testing Alarms
- Press the test button and listen for the loud horn
- Trigger the test feature from your home’s fire alarm control panel if applicable
- Wave a lit match or lighter below the detector to simulate smoke
Checking Age and Expiration
- Find the manufacture date on the back or inside of the detector
- Note if it is past the lifespan recommendation, usually 7-10 years
- Locate the expiration date indicating when the entire unit should be replaced
Assessing Battery or Wiring
- For battery models, remove the battery and check the charge level
- Inspect terminals for corrosion or damage
- For hardwired detectors, check wiring connections are secure
- Verify that AC power is correctly supplying the unit
Thoroughly checking over the detector helps identify any maintenance that will be needed.
Common Smoke Detector Problems
Some issues arise more often than others when smoke detector units start to fail. Being familiar with these common problems makes it easier to diagnose and fix them.
Dead or Missing Battery
For battery-powered detectors, a dead or missing battery is one of the most frequent causes of malfunction. Units will chirp or beep when the battery level is low as an alert. Replacing the battery with a fresh one of the correct size will usually solve the problem.
Faulty Wiring
Hardwired smoke detectors depend on proper connections to the home’s electrical system. Vibrations or age can cause wiring inside the unit to come loose. This interrupts the power supply and causes malfunction. Checking and securing loose wiring is needed to restore proper operation.
Dusty or Dirty Sensor
Smoke detectors have sensitive sensors that can get clogged with dust, insects, and debris over time. This blocks smoke from reaching the sensor. Light cleaning of the detector vents and chamber will clear away dirt buildup. Click to read about Starbucks app not working.
Defective Alarm Horn
The alarm horn or speaker that sounds the audible alarm when smoke is detected can wear out over years of use. This will prevent the loud alarm from going off properly during an emergency. The entire smoke detector unit will need replacement in this situation.
False Alarms
Random false alarms for no reason often indicate a fault within the smoke detector’s electronics. Unfortunately, the cause can be difficult to pinpoint. Replacement of the defective unit is usually required if the issue persists after a battery change or cleaning.
Common Smoke Detector Problems and their solutions:
| Common Smoke Detector Problems | Solution |
|---|---|
| Dead or missing battery | Replace the battery with a fresh one. |
| Faulty wiring | Call a qualified electrician to fix the wiring. |
| Dusty or dirty sensor | Use a vacuum cleaner with a crevice attachment to clean the dust and dirt from the vents. |
| Defective alarm horn | Replace the entire smoke detector unit. |
DIY Smoke Detector Repairs
Many basic smoke detector issues can be fixed by homeowners themselves:
Replacing Battery
- Remove the detector from the mounting plate
- Take out the old battery
- Insert new battery, matching +/- orientation
- Test the unit by pressing the button

Cleaning Detector
- Use compressed air or vacuum crevice tool
- Carefully blow or vacuum dust from vents
- Do not open the casing or directly vacuum the interior
Reconnecting Wiring
- Turn off the home electrical supply
- Remove detector and access wiring connections
- Reconnect any loose wires securely
- Restore power and test unit
Testing After Repairs
Press the test button after any maintenance to confirm the loud alarm tone functions properly. This verifies your repair was successful.
Smoke Detector Repairs and Solutions:
| Common Smoke Detector Problems | Solution |
|---|---|
| Dead or missing battery | Replace the battery with a fresh one. |
| Faulty wiring | Call a qualified electrician to fix the wiring. |
| Dusty or dirty sensor | Use a vacuum cleaner with a crevice attachment to clean the dust and dirt from the vents. |
| Defective alarm horn | Replace the entire smoke detector unit. |
When to Call a Professional
While DIY Smoke Detector Repair is suitable in many cases, some situations call for a qualified technician:
Hardwired Systems
Any issues with the home’s hardwired fire alarm system wiring should only be handled by an experienced electrician or alarm system technician. Improper connections can result in shock risk or damage.

Problematic False Alarms
If a smoke detector continues to have frequent false alarms after replacing the battery and cleaning, it likely requires professional service. The cause may be faulty electronics or sensor issues.
Full System Replacement
For older home fire alarm systems, it can be wise to replace the entire system if multiple detectors are malfunctioning. Professionals can properly evaluate this need and install compatible new equipment.
Calling in an expert provides an extra degree of safety and assurance when more complex smoke detector issues arise.
Preventative Maintenance
Carrying out simple preventative maintenance makes smoke detector breakdowns less likely and saves you from those unwanted middle-of-the-night false alarms.
Regular Testing
Test all smoke detectors monthly by pressing the test button to ensure proper operation. This gives you an early warning of potential problems.
Changing Batteries
Replace batteries once a year or whenever the low battery warning chirp sounds. Use the correct size new alkaline battery. A fantastic read about Cloud-Native Architecture.
Sensor Cleaning
Gently vacuum smoke detector vents when dust builds up to prevent blockage of the sensor.
Following Manufacturer Guidelines
Check the user manual and follow all manufacturer directives for cleaning, testing, and replacing your specific smoke detector model. Proper routine care extends their working lifecycle.
People Usually Ask about Smoke Detector Repair
How often should you test smoke detectors?
Test smoke detectors once a month by pressing the test button to ensure the audible alarm sounds properly. Also test units after any repair or battery change.
Where is the best place to install a smoke detector?
Smoke detectors should be installed on every level of the home, inside every bedroom, and near any combustion appliances. Follow manufacturer guidelines for proper placement.
Can smoke detectors get wet?
It’s best to prevent water exposure, but most smoke detectors have some water resistance. Brief exposure to moisture or high humidity should not permanently damage them. Just allow detectors to fully dry before reinstalling and testing.
Do smoke detectors expire?
Yes, smoke detectors have a limited lifespan and expiration date. The sensor technology degrades over 5-10 years for most models. Replace detectors by the expiration date printed on the unit to ensure continuing safety.
Why do smoke detectors chirp intermittently?
Frequent chirping or beeping usually means the smoke detector battery is low and needs replacement. Chirping for no reason can signal a problem with the unit’s electronics that requires repair or replacement.

Liam Stephens is a dynamic and skilled blogger, recognized for his ability to identify trends and create compelling content. As the founder of Remi-Portrait.com, Liam has become a reliable source of information across various fields such as food, technology, health, travel, business, lifestyle, and current events. He specializes in delivering up-to-date technology news and insights, catering to the diverse community that surrounds Remi-Portrait.com. His proficiency and engaging writing style have earned him a dedicated audience, solidifying his reputation in the digital sphere.